Cleaning your saltwater catch can be a rewarding experience, especially when you’ve had a memorable outing on any number of Texas’ bay systems.
By the same token, there’s nothing worse than spending a day on the water and not properly caring for the fish you’ve earned – or even paid to earn – and not maximizing your meat haul.
When it comes to fish cleaning, the key is to keep the process as simple as possible. Anglers with access to public fish cleaning tables will find what typically are sound surfaces and a water hose. All you need to bring in this scenario is a fillet knife, or two if you’ve got a large catch, and plastic bags to store the fillets. Optional items are a set of gloves, preferably with gripping material on the palms and which should be able to keep your hands from being cut in the event of a slip up, an electric fillet knife and extra blades and a fish scaler.
Now that you’ve got everything you need, here’s a look at fish cleaning basics for the most common saltwater catches by Texas anglers.
Cleaning Redfish, Trout and Drum
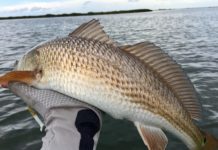
Redfish and black drum are tougher than speckled trout, so many anglers prefer to use an electric fillet knife with interchangeable blades if they’re cleaning lots of fish rather than a standard fillet knife, but it’s all about preference.
First, make a cut behind the gills down to the belly, making sure not to cut through the backbone. Next, cut along the belly from the first cut, down to the vent of the fish. Then, place the knife back in the first cut, turn it toward the tail and begin cutting down and alongside the backbone and down to the tail. As you cut toward the tail, don’t cut the fillet all the way off the fish, leaving a portion of skin attached to the tail – something that will make it easier to cut the meat from the fillet if you choose to go skinless.
In the case of redfish, some anglers prefer to leave the skin on for grilling “on the half-shell.” In that instance, it’s OK to cut the fillet completely from the fish rather than stopping just short of the tail.
When you leave the fillet attached at the tail, place your knife flat and at a downward angle to begin cutting the meat away. If you’re using a standard fillet knife you can use a back and forth sawing motion as you cut the meat from the skin. If you’re using an electric fillet knife this process is simpler as you typically can go straight down the fillet in one fluid motion.
You likely will come away with some rib bones attached to your fillet, which easily can be removed with another slice of the knife, guiding the blade in an angular motion to maximize how much meat is left. In the case of redfish with the skin on, it can be easier to leave ribs in and not waste meat, especially since the bones are easy to pick around when the fare is grilled up tender, but again, it’s all about preference.
After you’ve taken care of the first side, simply flip the fish over and repeat on the other. Since the fish will be missing that chunk, it’s best to use a cutting surface such as wood that will hold the fish and make the second fillet easier to retrieve. You also may want to use a glove, though I’ve met some guides and other anglers who would rather not use one because they’ve said it can make them lose their feel, which isn’t a good thing when using a well-honed blade.
Cleaning Flounder
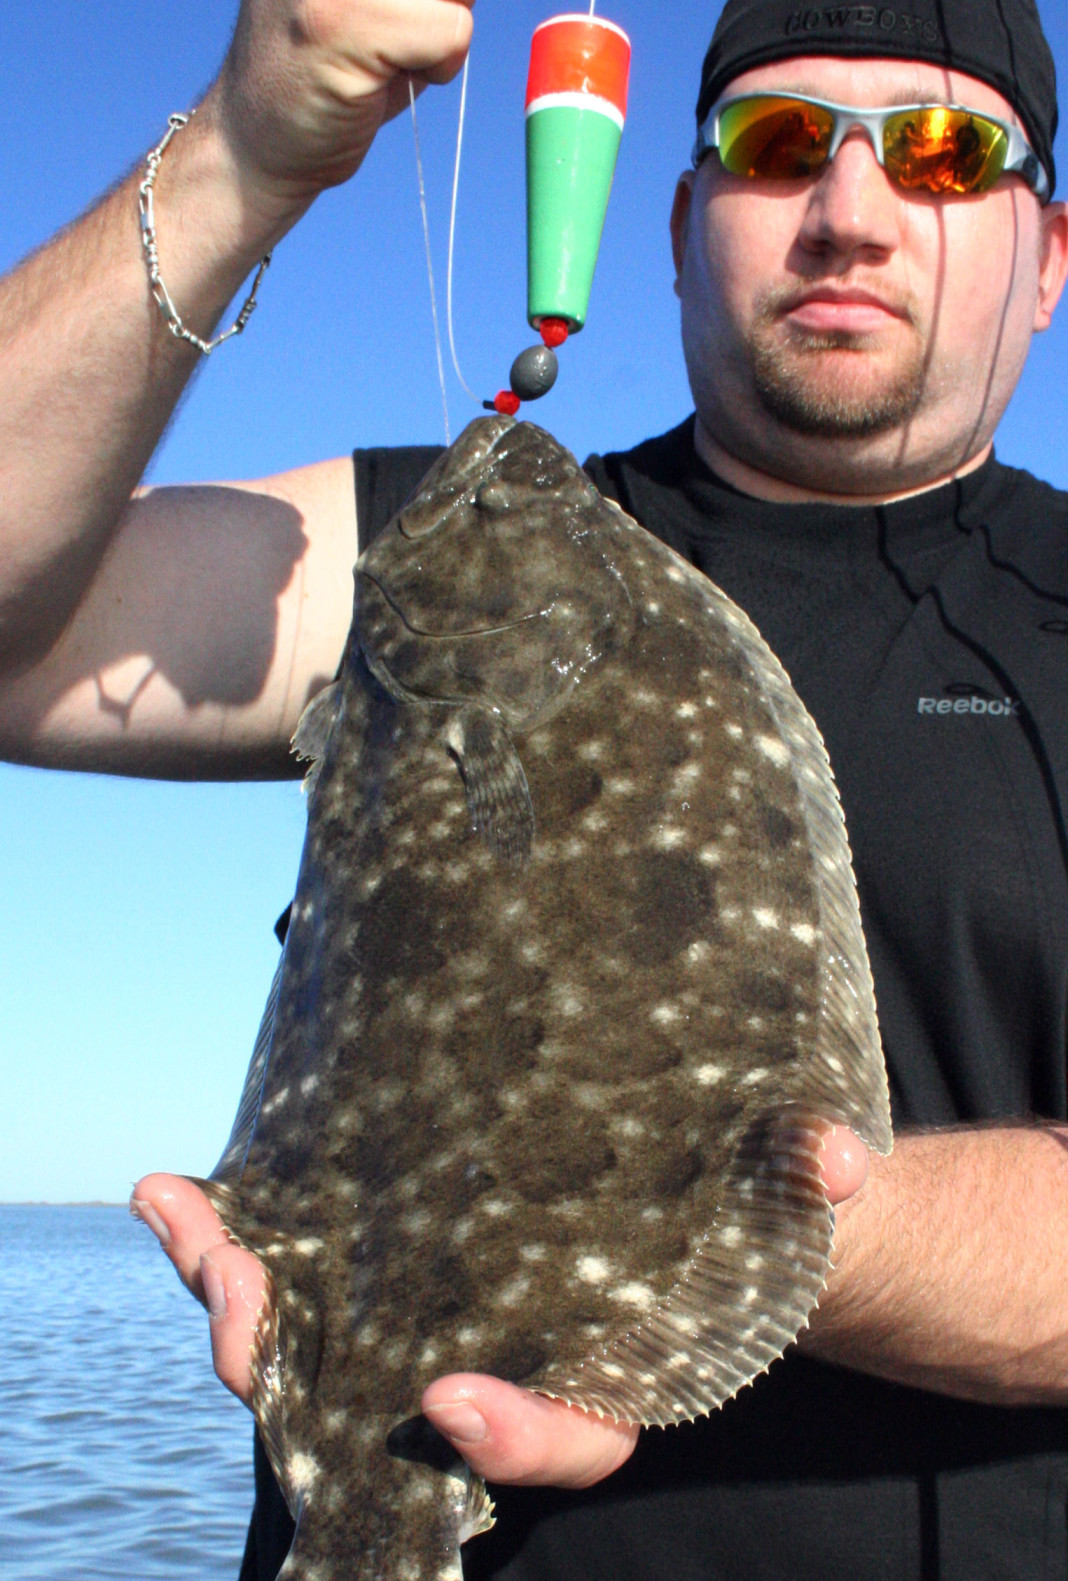
Some anglers think flatfish are difficult to fillet, when in fact they mostly are meat – of the great eating variety.
First, make sure you have a clean, flat surface and wash off as much slime as possible to make the flounder easier to manipulate. The first cut should be through the skin behind the gills, making sure not to slice into any bones. Next, find the lateral line that runs down the middle of the side of the fish from the gills to the tail, which roughly marks its backbone.
Then, make a cut from the center of the cut behind the gills down to the tail. Your knife will find the backbone and the cut should be on top of and down to the backbone, running to the tail. Insert the tip of your knife along the backbone and under the meat, using long strokes from the gills to the tail, which will begin removing one fillet. You can use your thumb to lift the meat away from the bones as you work down the length of the fish.
Once you free the top piece from the backbone, continue the cuts to the bottom half, which will free the fillets from the backbone. You should leave the pieces attached to some skin near the tail which will make it easier to remove the meat. Next, fold them over so the meat is up and lay the knife flat, making a sawing motion after cutting down to the skin, removing as much meat as possible. Then, finish the other fillet in the same fashion, holding the fish for leverage as you remove the rest of that side of meat.
Once you’ve filleted the dark side, flip the fish over and repeat the previous steps, though it should be noted that the fillets on the white side are thinner. It typically is more fruitful when carving up a flounder to use a fixed blade fillet knife rather than an electric model since it can be easy to overdo a cut or cut too deep if you’re not careful.
Proper care for your catch ultimately begins the second you land a fish and it’s your responsibility from both a legal and ethical standpoint to make sure you don’t waste a natural resource. One thing you should never forget is a good supply of ice and a large enough cooler to house it and your bounty. If there’s one thing I know, you’ll certainly need the space should you have even modest success in our rewarding coastal waters.


